
While I was there all of the stores had their spring stock out and I was so happy. Everywhere I looked there was a definite hippie bohemian vibe with lots of peachy tones and earthy greens, two of my very favourite colours. Of course, I bought a few things and was inspired to add an accessory to my new spring wardrobe!
Here are the supplies I used:
 |
| Add some jewellery glue if you have it. |
1) Thread three embroidery threads through one hole in a separator bar and tie a knot, leaving a tail of at least an inch on the outside.


2) Braid the embroidery thread the length you need to fit around your wrist.
 |
| I found it easiest to secure it first so I could use both hands to braid. |

4) My separator bar had five holes so I repeated these steps four more times, moving to the next hole each time and changing up the combination of thread colours.
 |
| Mr. Whiskers found this whole process very fascinating! |


5) Now came the most time consuming and frustrating part. But really that was only because I had to do a bit of trial and error until I figured out a good solution. I was going to use these little butterfly clips to gather up all of the threads and then hook onto a jump ring. The problem was that they were far too small, I had too many threads to contend with, and I didn't have any larger ones on hand.

Eventually I found something that worked. So, first trim all of your threads so that they're the same length, leaving about 1 inch in length.

I tried to do this next step without glue but I just about tossed the whole project. If you have nerves of steel and a larger clip you can do it, but I recommend adding some glue to the tips of the threads and sort of gathering them all up together, as well as a few dabs inside the clip to hold it all in place while you're trying to clamp it shut.
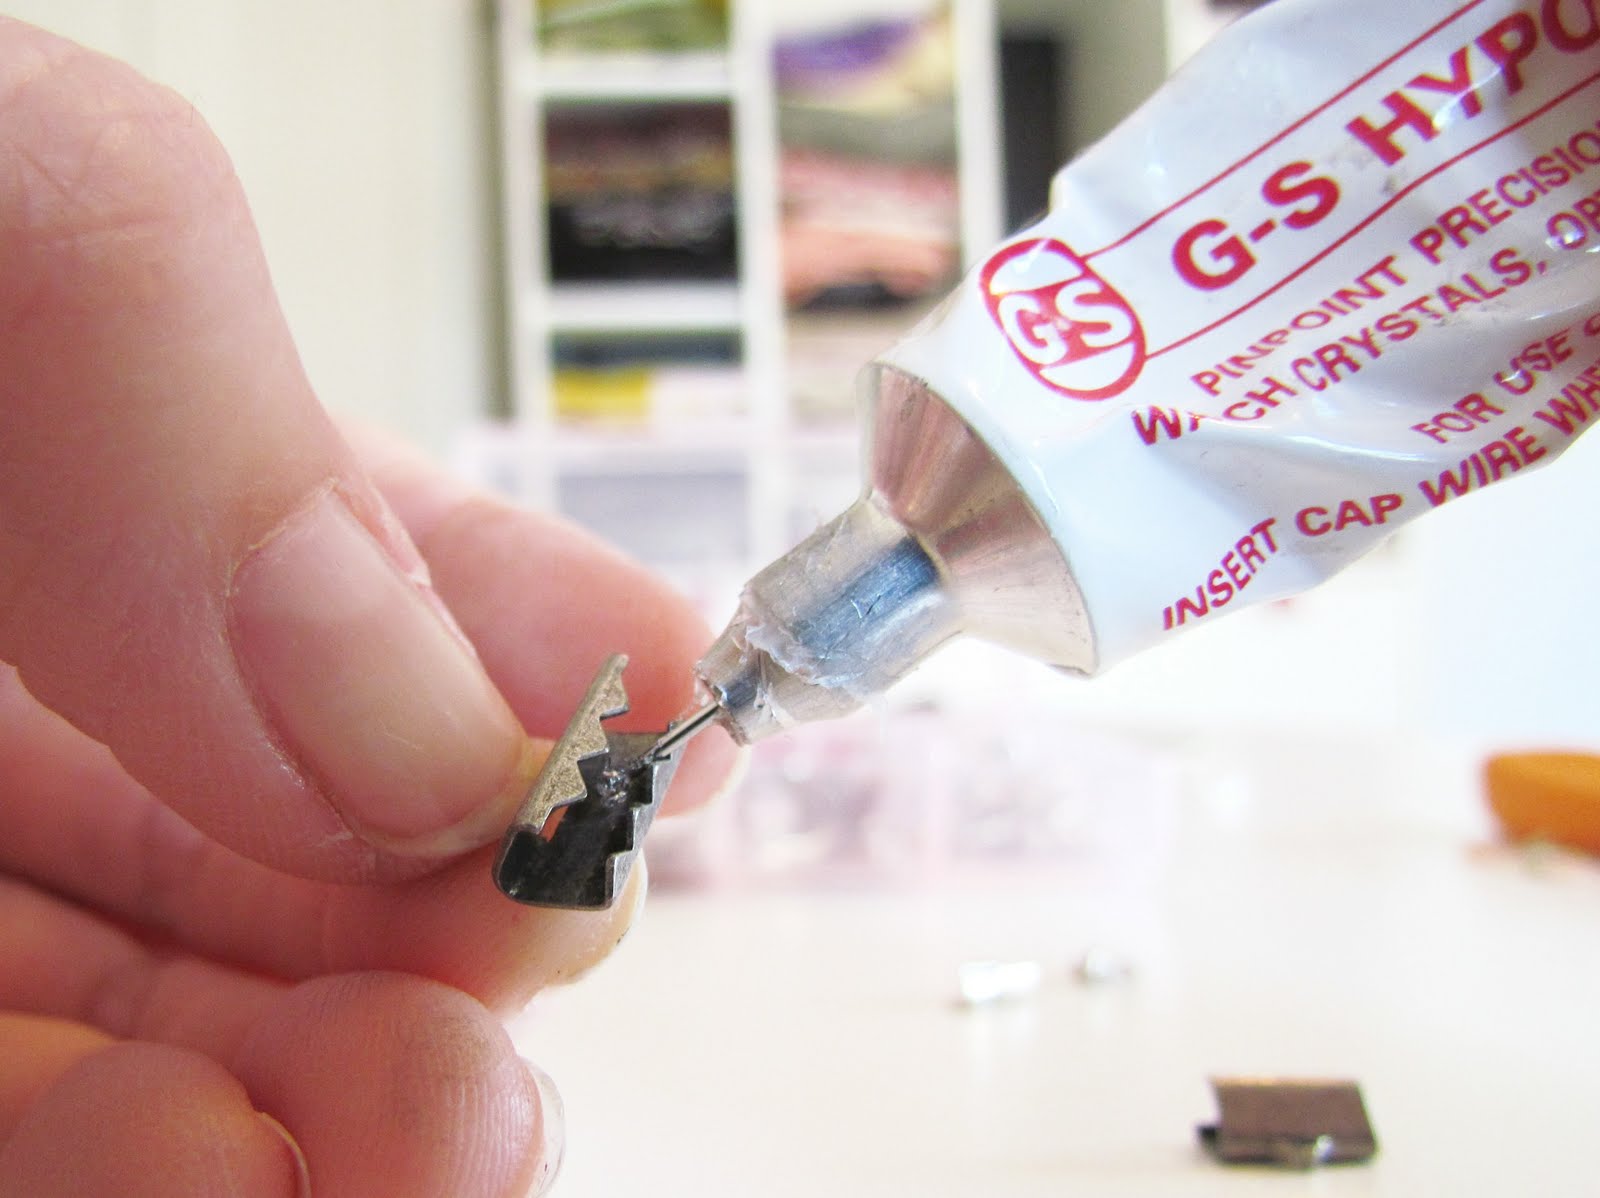
I had to search high and low for my jewellery hypo cement glue but eventually I found it. It's very strong smelling and once it's on your skin, everything sticks to you. You could try hot glue but I'm not sure that would be any easier to work with. Despite it's bad qualities, the hypo cement glue really works.
6) Now just carefully guide all of your threads into the clamp and using some pliers squeeeeeeeeeeeeze it shut.

Ideally I would only have one on each end gathering up all of the threads, but the clamps I had on hand were small, so I had to separate the threads into two bunches.
7) Add a jump ring to each clamp.

8) Connect the two jump rings on each end with another jump ring.
 |
| My fingers are now coated in glue~ |

All done!

Once I got the hang of gluing the threads into the clasps it all went pretty smoothly. I have really tiny wrists and I always end up making bracelets a bit too big so this might be something I give away to someone I know. I might make myself another one using all the same colours or add some beads or something. I'm not sure yet. I love embroidery thread because it comes in such a huge array of colours and textures so the sky is the limit~
Have fun with this and let me know if you try it out. Leave a comment below.
As usual, I'll be posting at linky parties throughout the week so make sure to check out the tab up top. And don't forget, if you're a follower you can post your button on the "Follow My Friends".
Every month I'll do a feature on one of my new friends!
Every month I'll do a feature on one of my new friends!
Have a great week!

11 comments:
waoo..its so nice..thanks for the tutorial..
LOVE it.!. Great tutorial!!! Hugs Anne
This is super cute, I would love to have you share it at my Fantastic Friday link party. http://ironvioletdesigns.blogspot.com
thanks
this is cute! love the cat picture in the middle, TOO funny haha
I'd love for you to link this up to my new link party, Your Whims Wednesday! http://mygirlishwhims.blogspot.com/2011/04/your-whims-wednesday-1.html
What a great bracelet and Mr. Whiskers is adorable too!
Love this! I think I'll give it a go soon.
Very cute! I think I want to try this! And it looks easy!
Very nice and looks fairly easy and doable. Thanks for linking up to Beyond The Picket Fence.
I would like to try this with some bright colors! Thanks for sharing this week!
Love the peachy tone and earthy green combo...
This bracelet is amazing!! I love it's simplicity!!! Thank you so much for sharing this!!
Post a Comment